In
this step, any holes or vias in the PCB are drilled out. For this step
you will need: a drill press that can run at 2000+ RPM, high-speed carbide
wire-gauge drill bits. This step takes 3-10 minutes, depending on number
of holes in pcb.
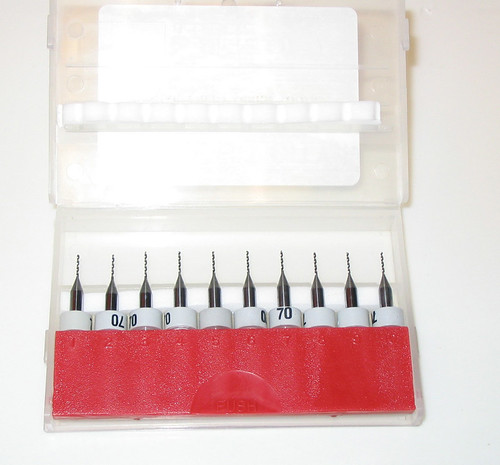
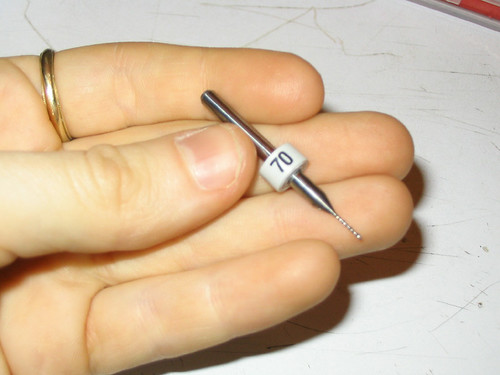
If your PCB is FR4 laminate, you may want to find a dust mask for this step, since fiberglass dust is carcinogenic. Chances are, you're using paper phenolic which is much safer. There is a box of HSS carbide drill bits in a box underneath the etcher, they are packaged in plastic boxes of 10. Find the boxes of closest size to your board holes. In general, .020"/75ga is good for RF vias, .028"/70ga is good for signal vias, .035"/65ga is good for DIP/LEDs/Resistors/Capacitors, etc., .042"/58ga is good for TO-220/heavier diodes/etc., .060"/53ga for heavier wires and power components, and .086"/44ga for mounting holes or anything else. Other drill sizes are available for purchase, of course.
If your PCB is FR4 laminate, you may want to find a dust mask for this step, since fiberglass dust is carcinogenic. Chances are, you're using paper phenolic which is much safer. There is a box of HSS carbide drill bits in a box underneath the etcher, they are packaged in plastic boxes of 10. Find the boxes of closest size to your board holes. In general, .020"/75ga is good for RF vias, .028"/70ga is good for signal vias, .035"/65ga is good for DIP/LEDs/Resistors/Capacitors, etc., .042"/58ga is good for TO-220/heavier diodes/etc., .060"/53ga for heavier wires and power components, and .086"/44ga for mounting holes or anything else. Other drill sizes are available for purchase, of course.
Left, these are inexpensive resharpened drill
bits $7.50 a box. Right, 70 gauge is as small as you'll need
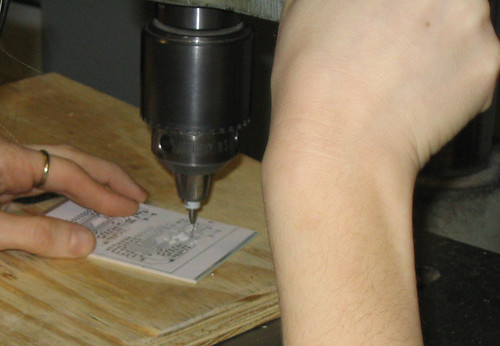
Place the first drill bit in the chuck, and tighten it well. Find
a piece of wood to place underneath the board for support. While
the drill is running, adjust the speed to 2000RPM or higher.
The drillpress in the media lab shop is more
than sufficient, adjust it only while running
Drill all holes of one size at a time. Try to position
the drill bit right in the center of the hole, or at least, try
not to drill through any copper traces. The drill bits might break,
especially if they sub-35mil. Holding the board steady while drilling
through it helps. The bits only cost 75 cents so just throw them
away when broken, but if you break more than 5, you should purchase
a replacement set.
You can drill a hole a second if you dont clamp
down the board, but breakage is more likely
After all the drilling, replace the bits in their
boxes, and put the box back underneath the etcher.
Shearing
In
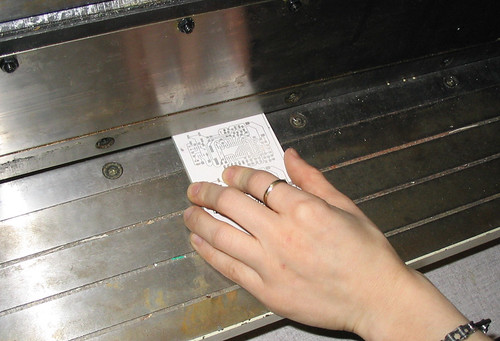
this step, the tiled layouts are seperated. For this step you will need
a metal shear (this step could also be done with a band saw.) This step
takes 2 minutes.Shear or cut the good boards out, leaving a few mm on each edge. The edges may be filed or sanded.


No comments:
Post a Comment